Here is a full guide on how to complete the Tricky Doors walkthrough level 12 puzzle game, which is called Mars.
Tricky Doors is a puzzle game where the aim of the game is to escape the room by completing different mini-puzzles and finding objects in the rooms to help you. This game is available to download and play on the PC, Nintendo Switch, Android and iOS devices and is a free-to-play game.
There are new levels that are still being released and we will do our best to create the walkthroughs/guides to help you complete the sections you may be stuck on as quickly as possible. This article will show you how to complete the twelfth level of the game, which is called Mars.
Tricky Doors Walkthrough Level 12 – Mars
Here is our Tricky Doors Walkthrough Level 12 Guide:
To get access to the twelfth episode or level, you will need to complete the first eleven or have enough keys, which we have done full detailed guides for and you can see by clicking on the following links:
- Level 1 – Magic World
- Level 2 – Secluded Island
- Level 3 – Locked Apartment
- Level 4 – Floating Islands
- Level 5 – Amusement Park
- Level 6 – Museum
- Level 7 – Hospital
- Level 8 – Theatre
- Level 9 – Antique District
- Level 10 – Train
- Level 11 – Circus
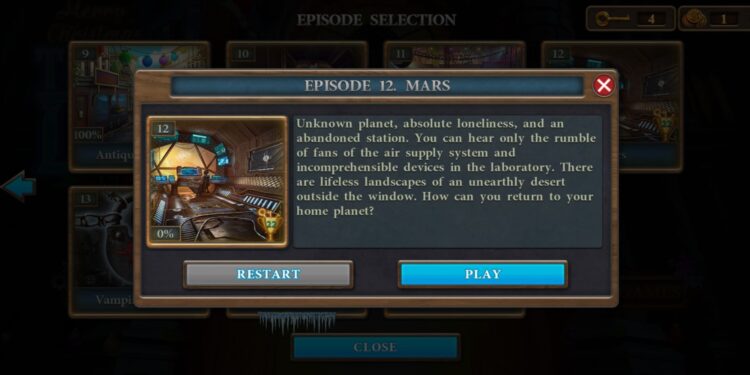
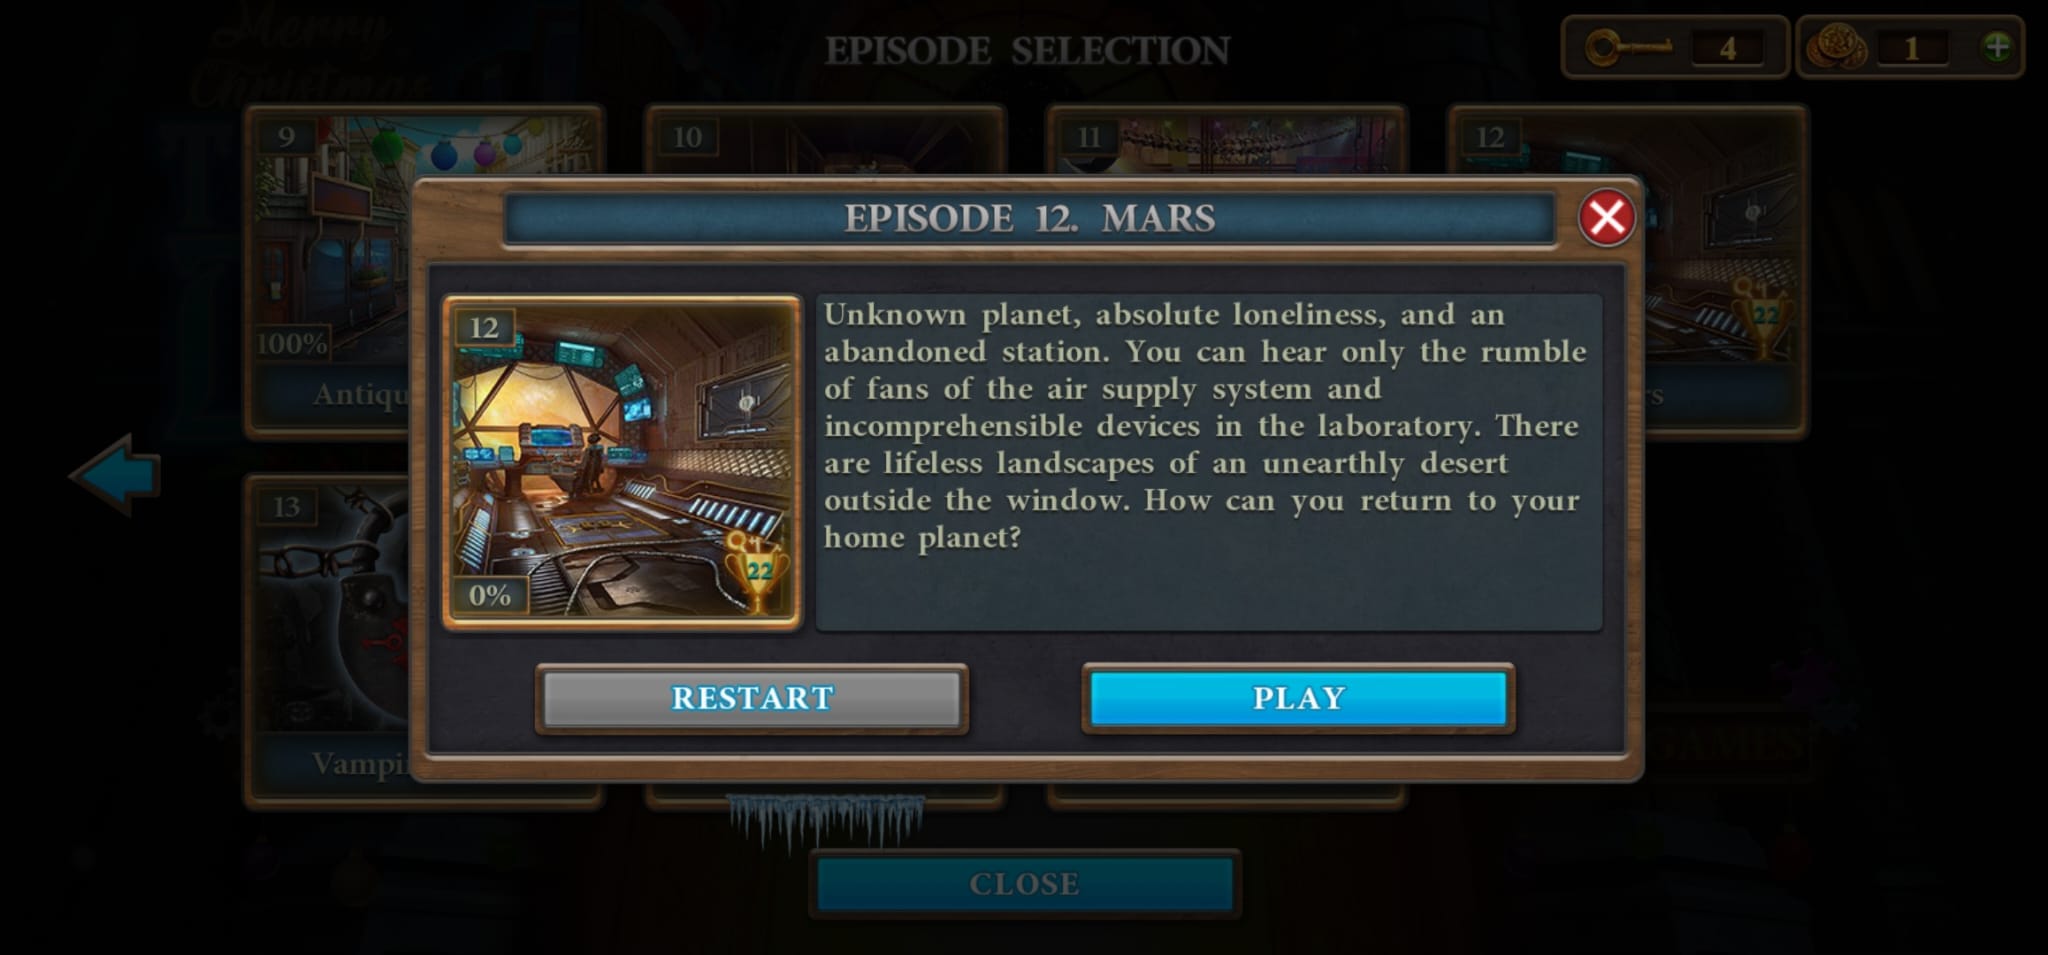
Tricky Doors have names for the different levels and the twelfth one is called Mars. Once you have clicked to play this level, you will see the following information:
“Unknown planet, absolute loneliness, and an abandoned station, You can hear only the rumble of fans of the air supply system and incomprehensible devices in the laboratory. There are lifeless landscapes of an unearthly desert outside the window. How can you return to your home planet?“
Tricky Doors Walkthrough Level 12 Continued…
Once you click on ‘play’ you will be transported to the first room of this level. If you click on the rusted blue box on the left, you can collect a chip from the right side of the top of the box. If you click on the papers on the left to enlarge it, you can click on the paperclip in the right corner to add it to your inventory.
You can now click on the smaller box, laying in the middle of the room and collect a detail in the bottom right corner. The chip can be added to the box and if you click on the top of the box, you can play the mini-game.
The aim of the game is to set all the sliders at the top of the red line. Unfortunately, the slider positions are different for everyone so we cannot do a step-by-step guide, but here is a video of how we completed ours:
Once completed, the box will open and you can now retrieve the screwdriver and rubber glove from within.
Now you will need to click at the bottom of the table on the left and you can use the screwdriver on the screws to remove the panel. There is a door you can open to the right above the tank and you can use the rubber glove to remove the fuse.
You will now need to click on the panel on the door at the back of the room and use the screwdriver to open the panel on the right. Click on it to make it larger and add the fuse and the clip to it, which will unlock another mini-game.
The aim of the game is to direct the beam from the beginning to end with the help of the mirrors. You can move and rotate the mirrors and all are needed to complete the game.
Again, this mini-game is not the same for everyone, but here is a video to show how we completed it:
Tricky Doors Walkthrough Level 12 Continued…
The doors to the next room will open once you have completed the puzzle. If you look on the picture on the right, you will see some coloured planets. This is the combination to the lock in the first room, which can be found on the left side of the door.
The order for the combination appears to be the same for everyone, which is red, blue, green and yellow and then you need to click on the middle button to open it up.
The panel will slide open and you can get a tube from the top shelf and a detail from the bottom left.
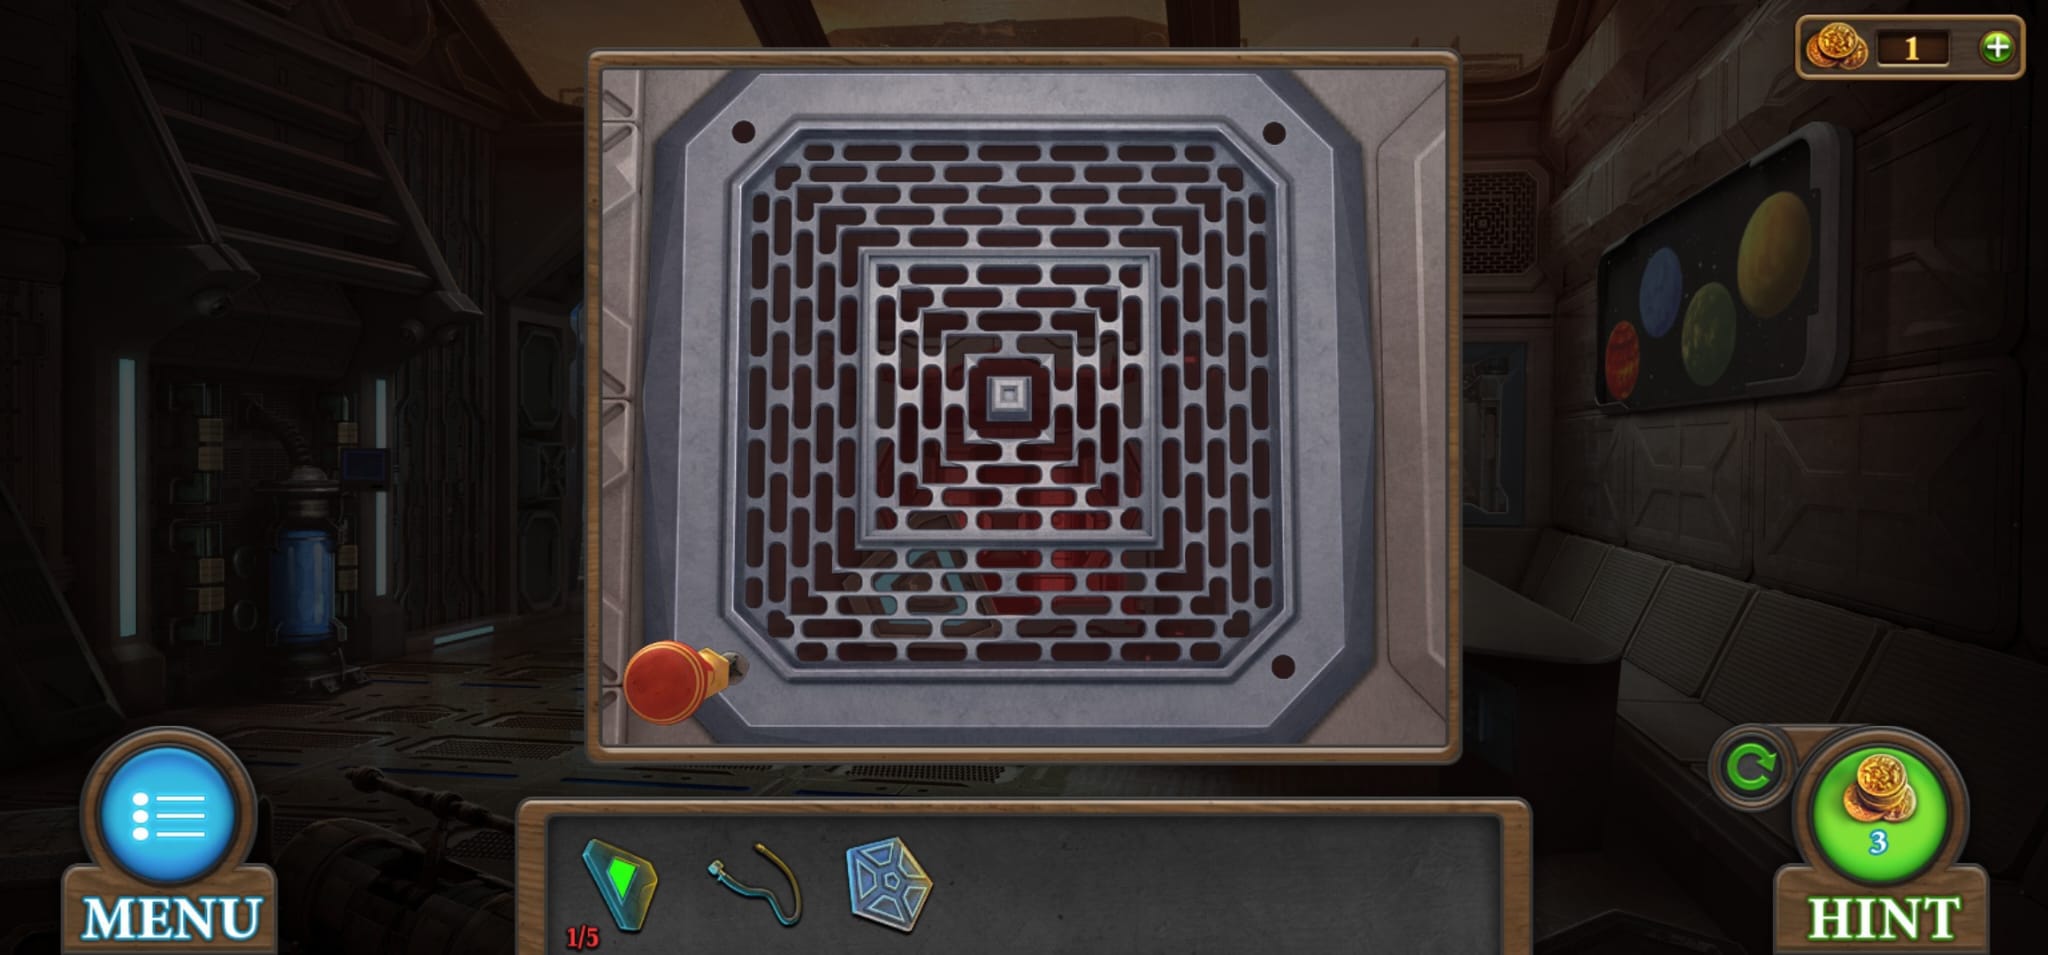
You will then need to go back to the second room and click on the vent on the right wall. Use the screwdriver from your inventory on the screws to pull the vent off and once opened, you can get a different type of detail.
There are also two details you can get from the table, a green one in front of the laptop and a blue one on the left side.
At the back of the room, there is a rusted red box in the left corner. Click on it to get a closer look and you will be able to get duct tape from the left of the box and a green detail on top of the box.
If you go back to the first room, you can use the blue details on the big box and this will unlock another mini-game. The aim of the game is to rotate the four circles so that the coloured stones would be opposite the stones of the same colour.
Again, this puzzle may be different from yours, but here is how we solved it:
Tricky Doors Walkthrough Level 12 Continued…
The box will now open and you can get a wrench and powder from within. The wrench can be used on the oxygen tank, which was at the bottom of the left table. The oxygen balloon will be added to your inventory.
If you click on the door on the right of the room, you will be able to add the other detail to the door, which unlocks a mini-puzzle.
The aim of the game is to move the coloured balls to the places of corresponding colour and this puzzle is different for everyone, but here is how we solved ours:
Once it has been opened, you will be able to get a reducer from the top shelf and a paintbrush from the bottom.
Now you can add the oxygen balloon, tube and reducer together to get a functioning oxygen balloon. This item will be needed later.
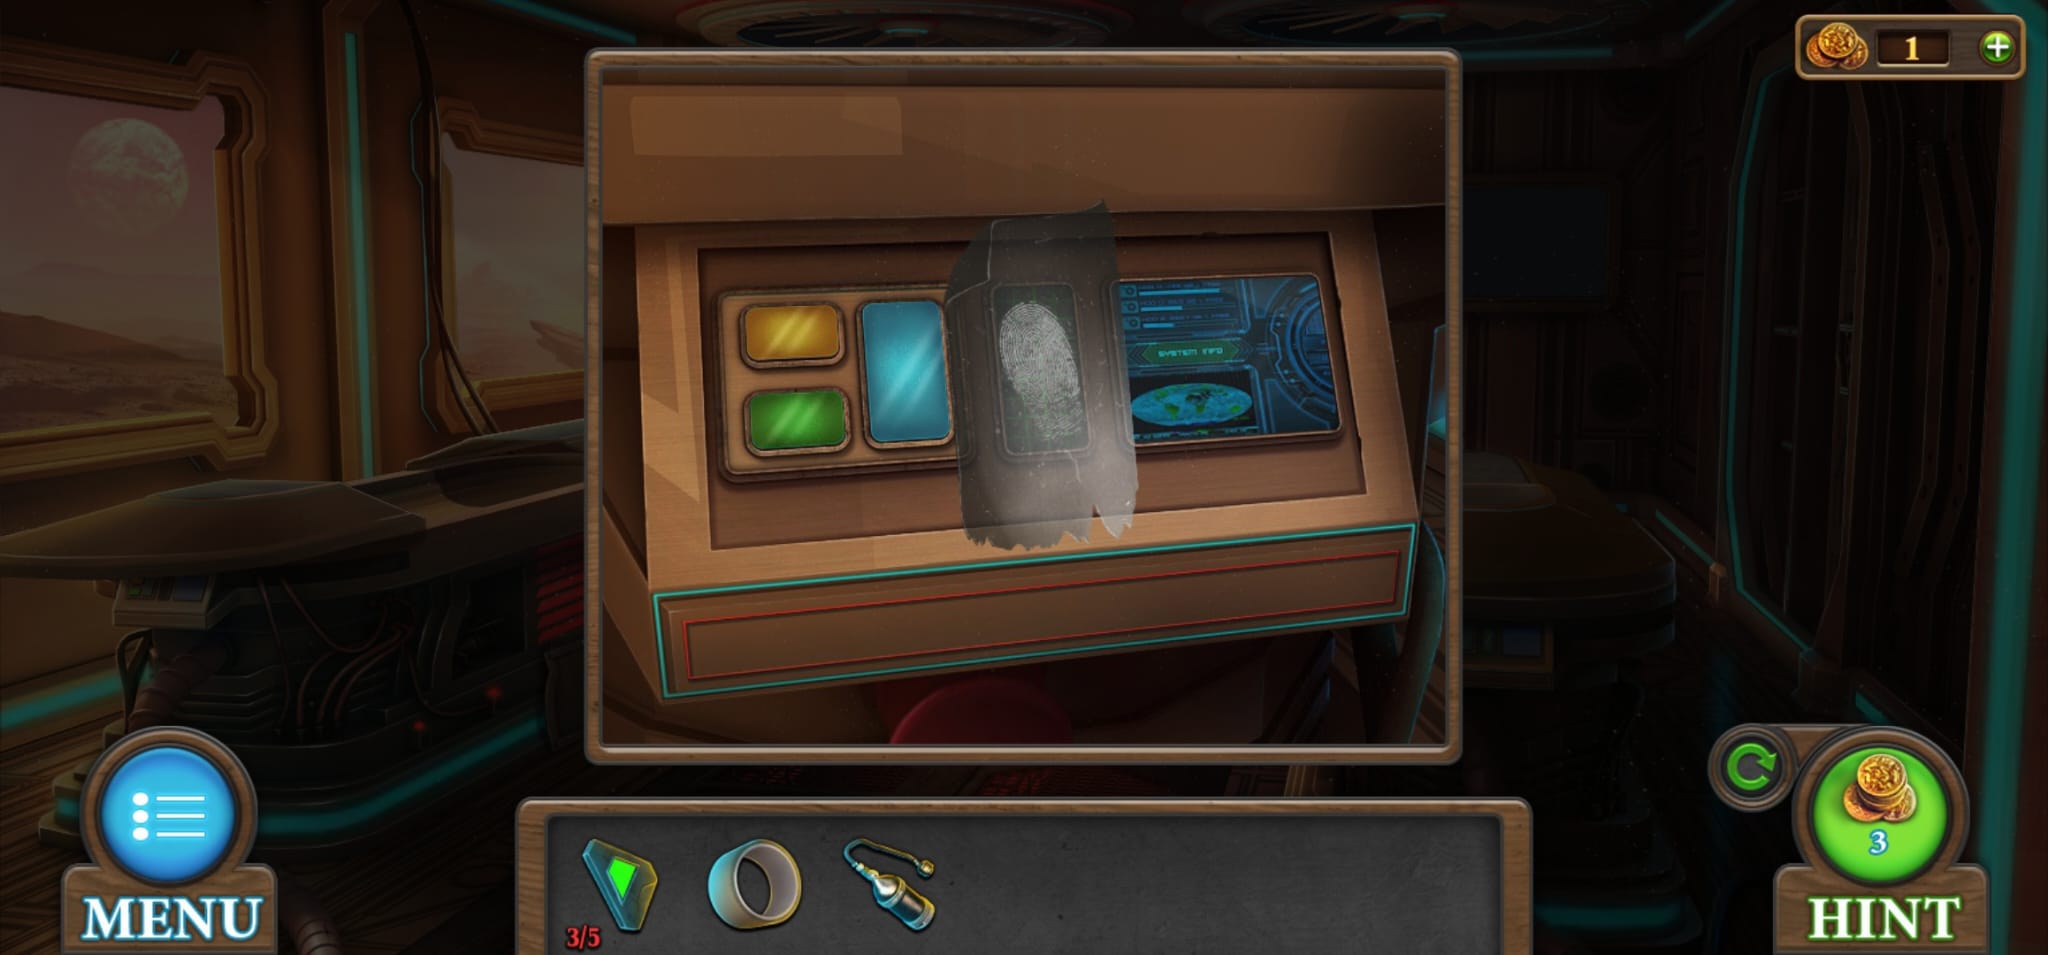
You then need to go back into the second room and click on the laptop on the table. Click on the powder and then on the laptop to put it on the table. The paintbrush can then be used on the power and the duct tape on top to lift a fingerprint.
You need to go back to the first room and click on the panel on the chamber on the right. The fingerprint can be used on the panel and you can then click on the top to open the chamber.
Tricky Doors Walkthrough Level 12 Continued…
From here, you can collect a green detail and access card. If you got back to the second room, there is a glass section on the left and if you click on it, you can use the access card on it.
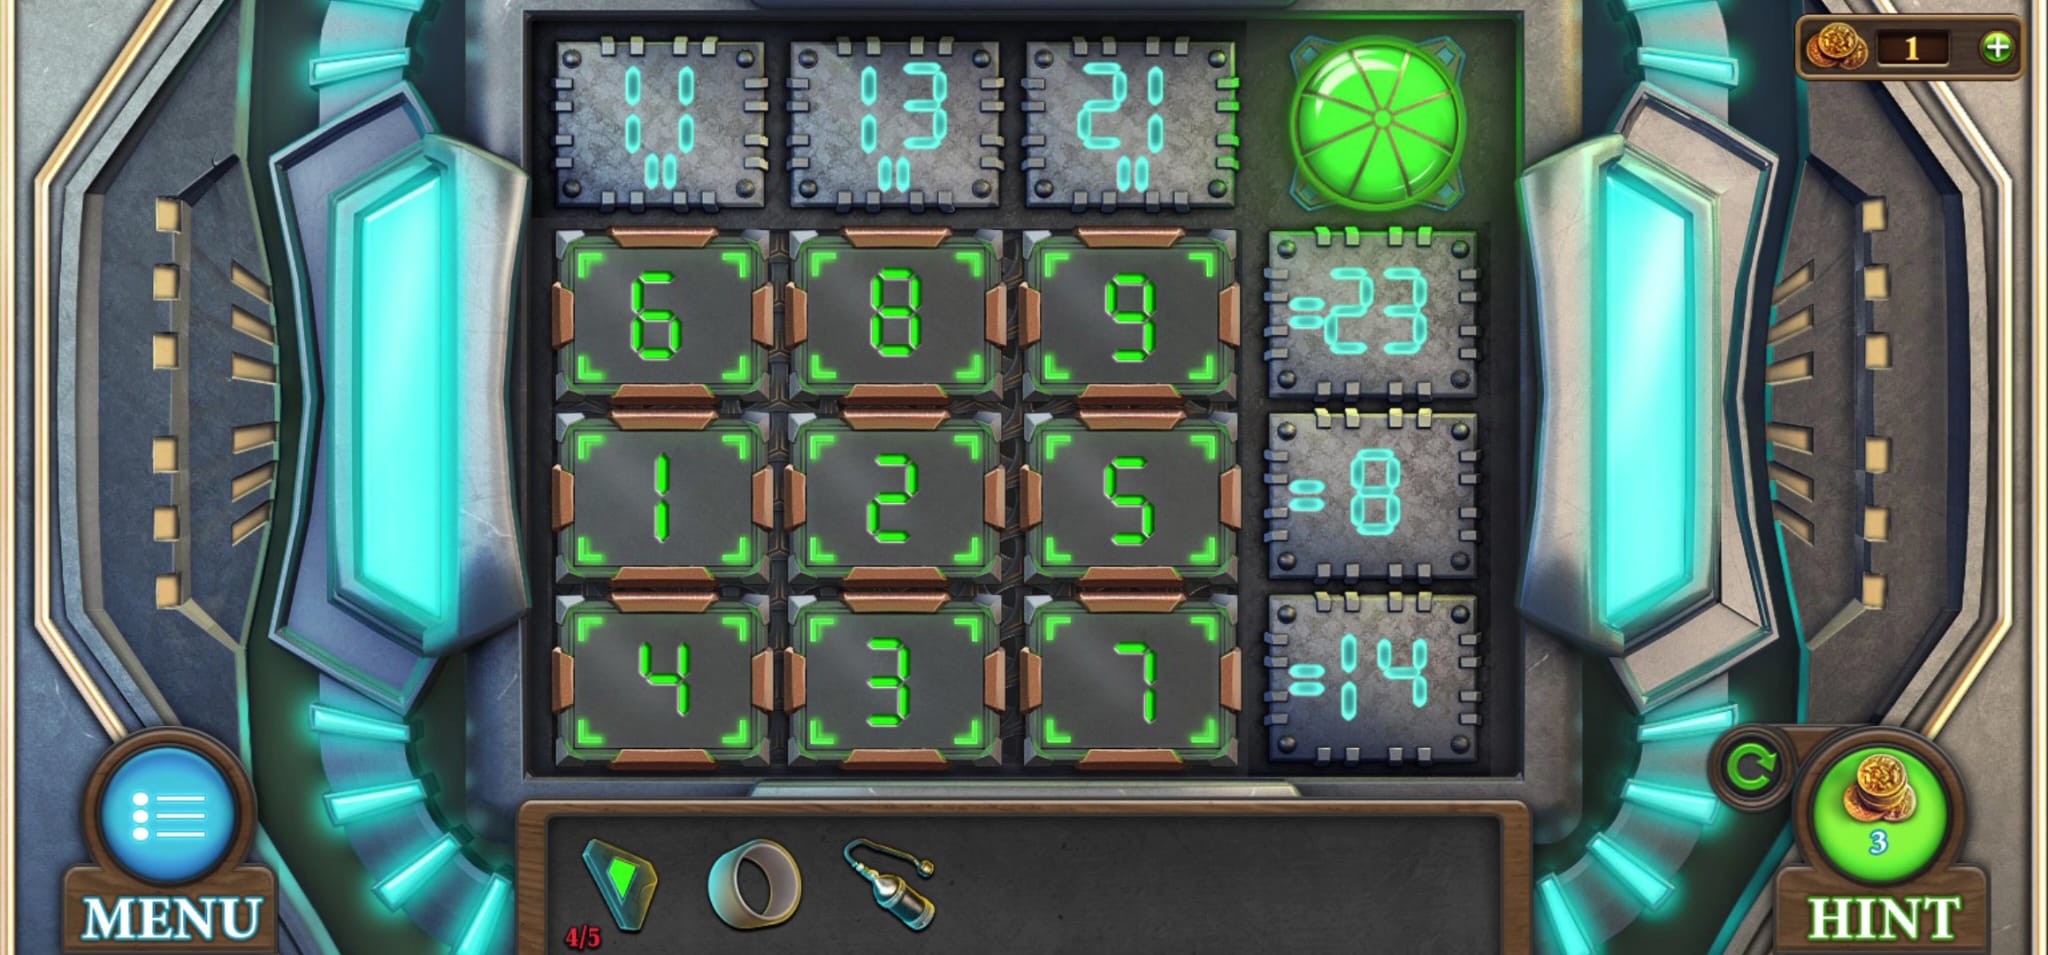
This will unlock a mini-game where the aim is to rearrange the numbers so that the sums in the rows and columns would be equal to the numbers on the corresponding plates.
The numbers in the puzzle will be different, but here is the solution to ours:
Tricky Doors Walkthrough Level 12 Continued…
Once you have completed it, the door will open and the first thing you need to do is to put the duct tape on the suit where the rip is. You can then click on the suit to turn it around and the back will open. From here, you can retrieve the last green detail and you will need to place the oxygen balloon inside.
You now click on the space suit to add it to your inventory. Before you leave, there is another type of detail on the right side.
Now that you have all five green details, you can add these to the lock in the door at the back of the room. This will unlock another mini-game where the aim is to draw a beam from start to finish using all the guides.
Unfortunately, you can have different puzzles, so here is a video showing the solution to ours:
Once it has been completed, you will be able to go through the doors to a lift and you will need to use the space suit to go to the surface.
There are a few items you can collect from here, which are:
- Reddish detail and step – both of these can be found next to the yellow object with solar panels on the right of the ladder.
- Step – another one can be found in the background when you click on the welding machine to the right of the ladder.
- Sonar panel – on the ship.
- Crowbar – by the ladder.
We have highlighted where these items can be found in the image below:

Tricky Doors Walkthrough Level 12 Continued…
On the ship, there are two monitors on the left and you need to click on the bottom one first. This will allow you to click on the panel with the lock, which will open the door to the ship. You cannot get on the ship yet but it will be used later.
Now you will need to go back to the first room you were in and you will need to click on the door on the right wall. You can use the crowbar on the door to get the right side to open up. From the top shelf, you can get the fan blades and from the bottom, you can get a step.
From the second room, you can use the crowbar on the glass panel on the right to remove it. You can now get a step and a solar panel once it has been opened.
You can click on the rusty red box near the door leading out and add the details to it to reveal a mini-game. The aim of this game is to move the yellow chips to the holes.
It looks like this puzzle could be the same for everyone, so here is how to solve it:
Tricky Doors Walkthrough Level 12 Continued…
Once it has been completed, there will be three objects you can get from the box, which are the last step, last solar panel and a welding gun.
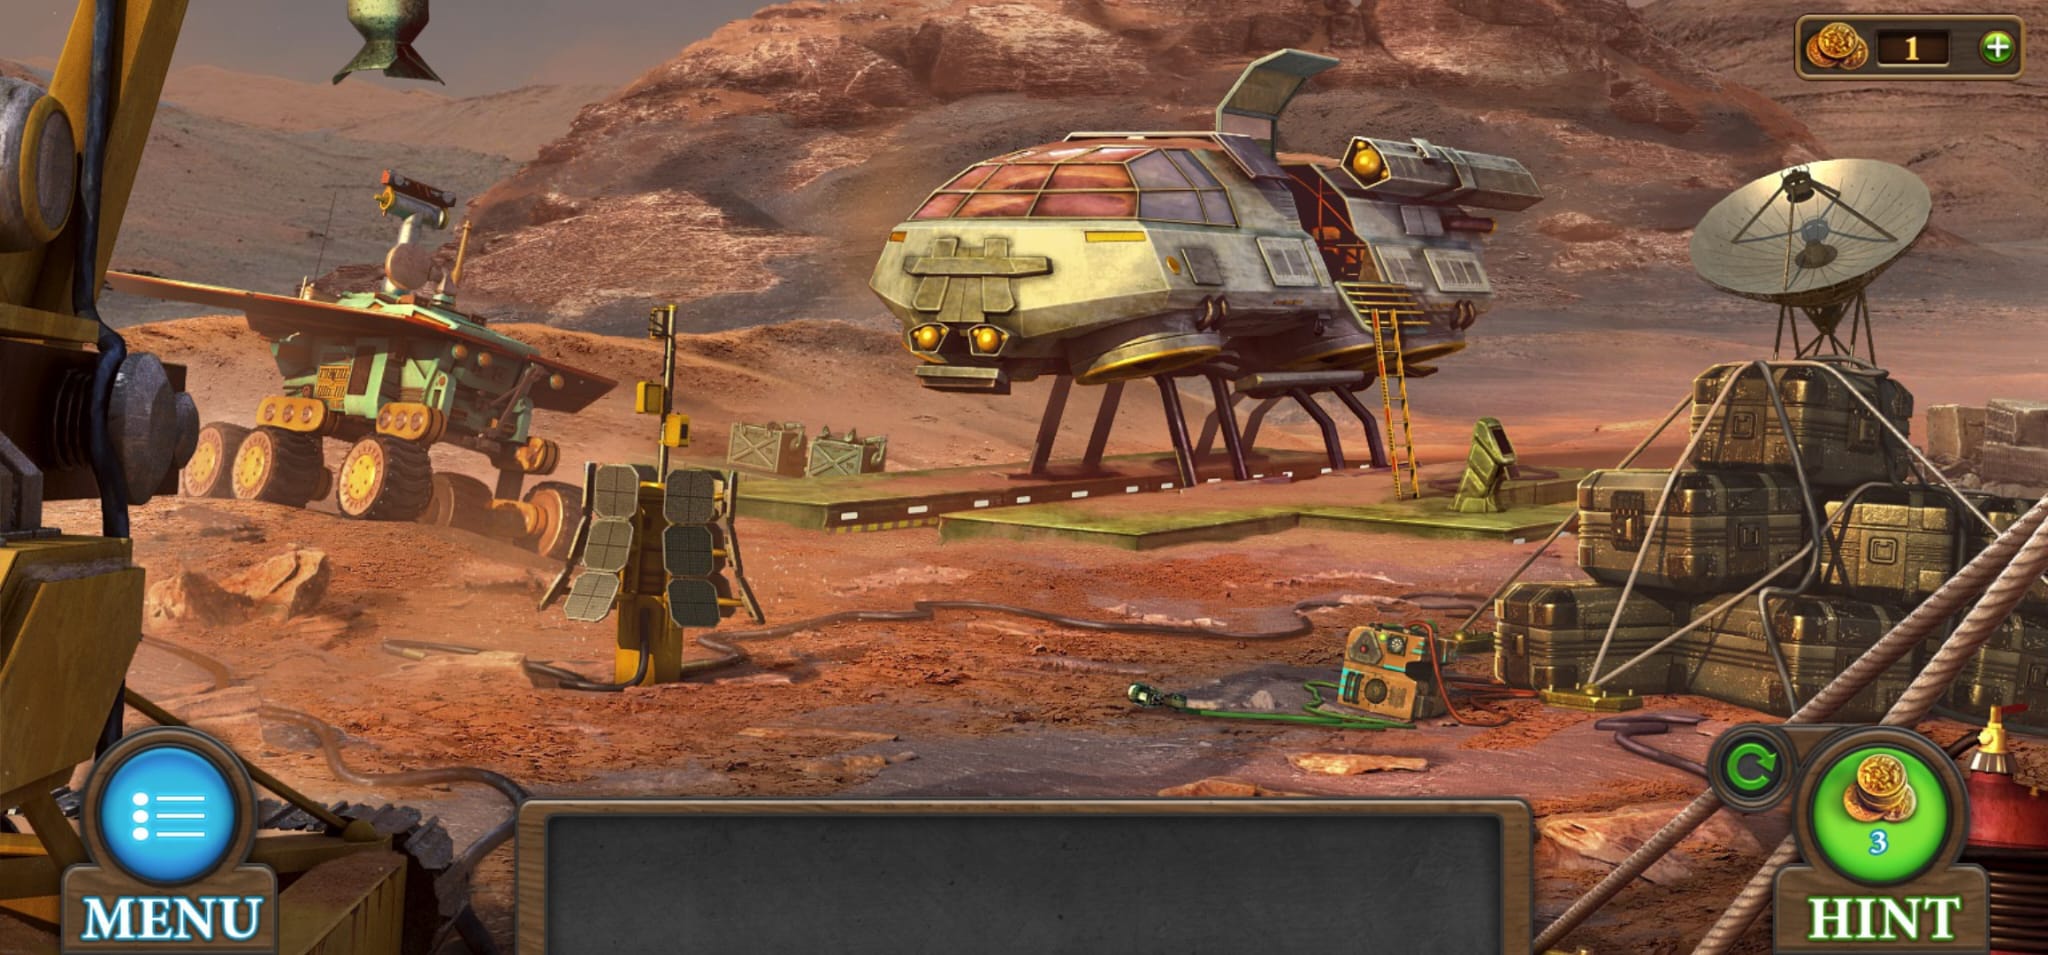
Now you need to go outside and add the solar panels to the yellow stand on the left of the ladder. The fan blades can be added to the device on the right of the ladder and you will also need to click on the red button to turn it on.
The steps can all be added to the ladder on the floor and the welding gun can be added to the wire on the floor. You can now use the welding gun to weld the steps on and add the ladder to your inventory.
The ladder can now be used to get onto the spaceship:
Tricky Doors Walkthrough Level 12 Continued…
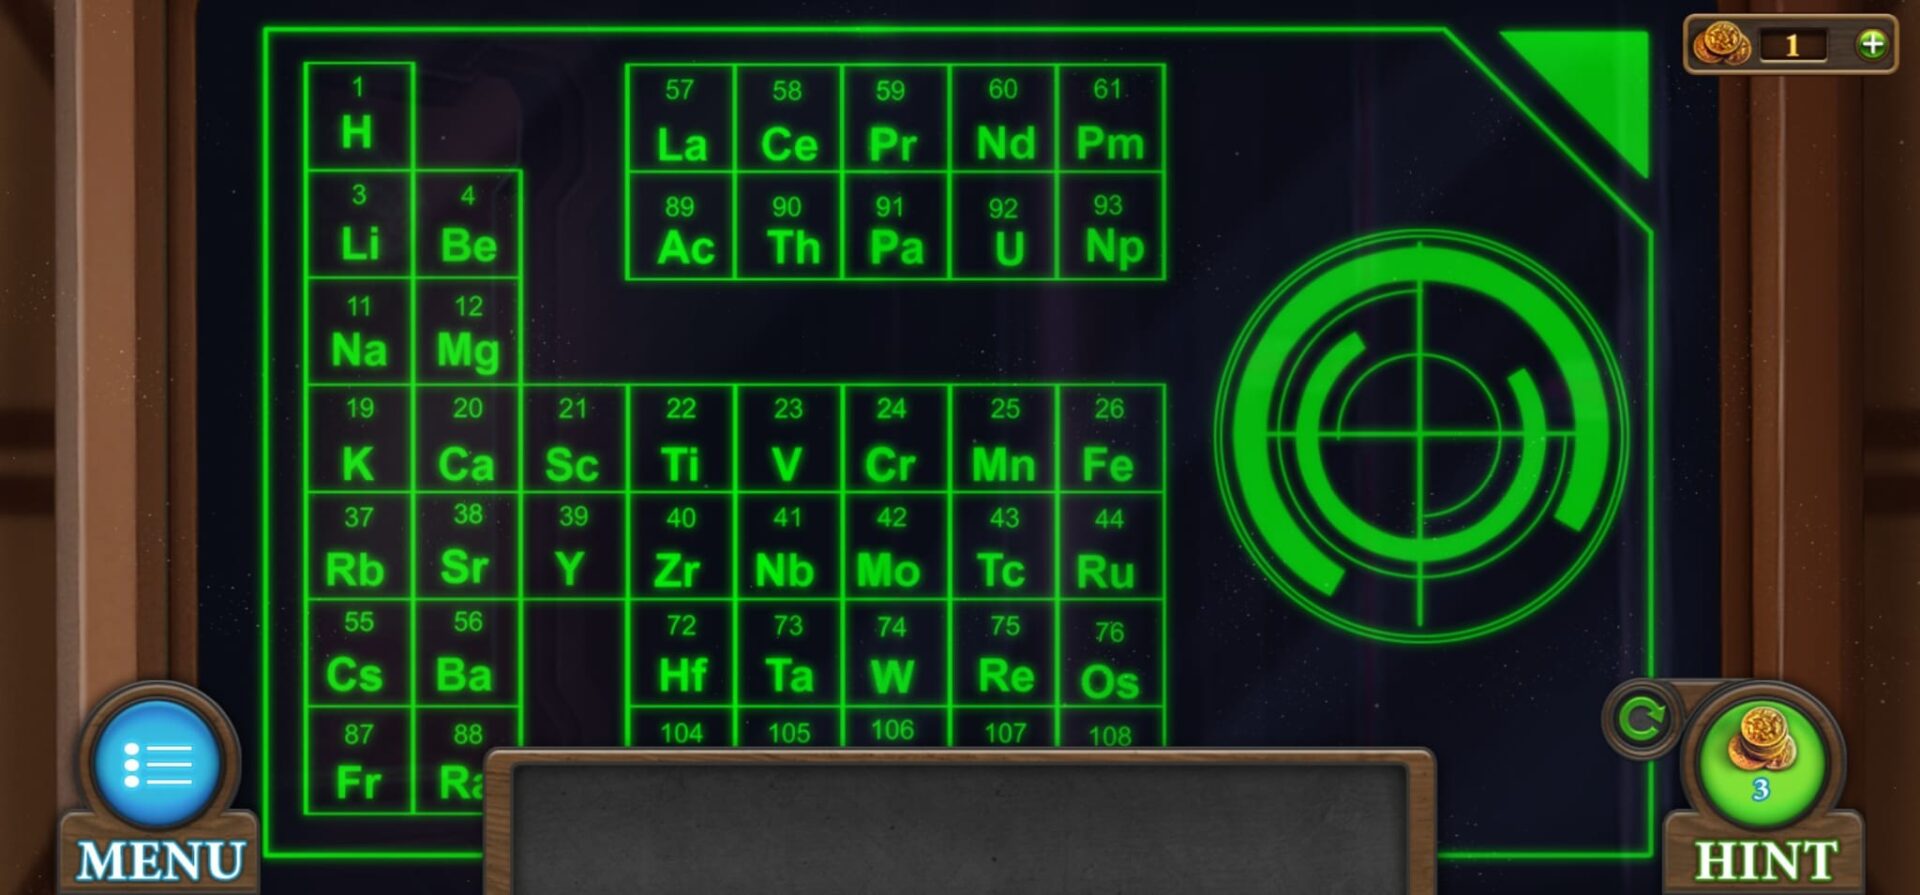
If you click on the box on the left, there is a code you need to put in it for it to open. On the left side, you will see some letters and it seems to be the same for everyone, which is Li, U, Ba.
This refers to the periodic table, and you can find it in the game in the first room. If you click on the monitor on the right side of the door and click on it two times, it will show the periodic table and you can click it again to get it enlarged.
The numbers assigned to the elements are:
- Li – 3
- U – 92
- Ba – 56
Tricky Doors Walkthrough Level 12 Continued…
You must look at the periodic table in-game before you input it into the box. Once it has been opened, you will get a key and a tip. If you click on the monitor at the front of the ship you can get a grey detail from it. You can also click on the steering wheel to remove it.
There is also a cartridge you can add to your inventory which can be found on the boxes on the right side in the foreground.
If you exit the ship, there is a vehicle on the left side and you can place the key in the yellow panel. This unlocks a mini-puzzle where the aim is to move the chips to the corresponding places according to their patterns. This puzzle may be different from yours but here is how we solved ours:
Once completed, the panel will have been removed and you will then need to click on the vehicle again. In the empty cube on the right you can collect a grey detail and if you click on the left one it will open and once you click again, you will add the battery to your inventory.
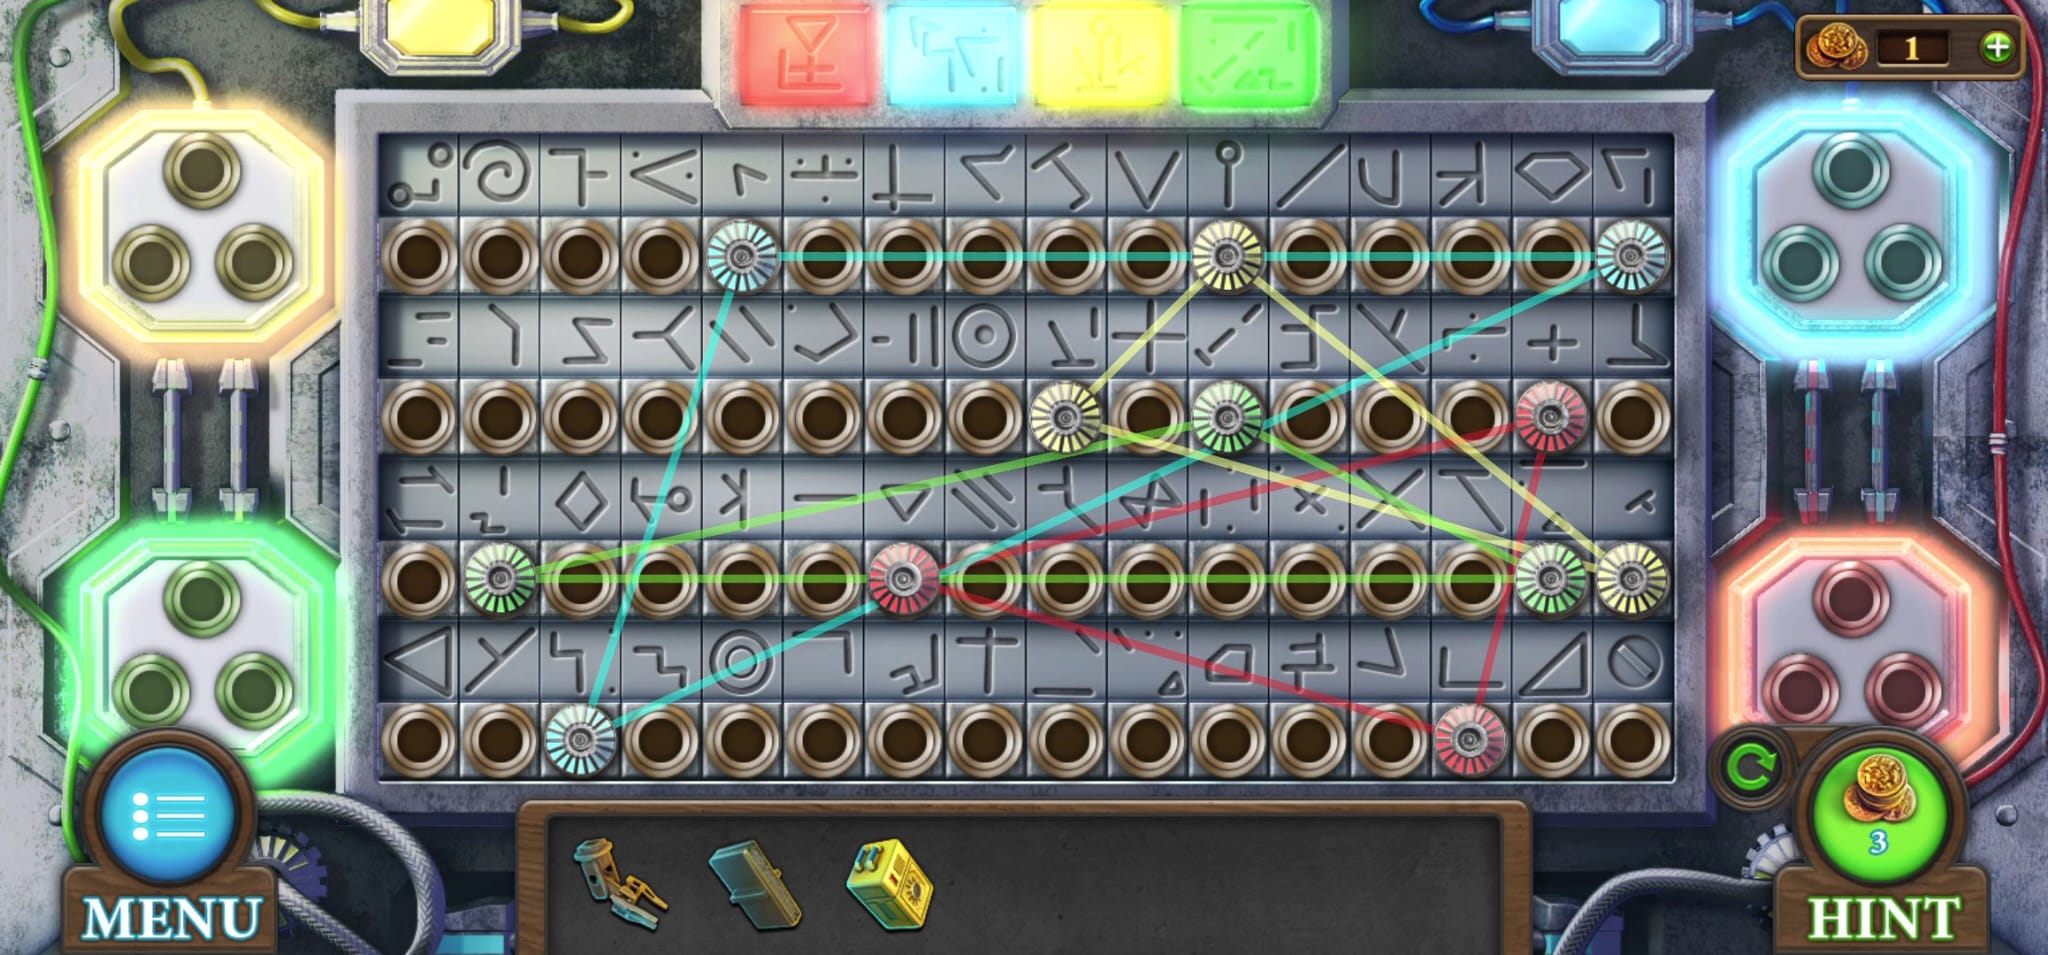
If you go back to the second room, you will notice that there is a panel on the right side of the table. The details you have in your inventory can be used on this to unlock a mini-puzzle.
The aim of this game is to move the coloured chips and combine the symbols to create the same symbol as on the plate above on chips of the same colour. We cannot give you a step by step guide as your puzzle is likely the same, but here is what ours looked like at the end:
Tricky Doors Walkthrough Level 12 Continued…
The panel will open and you can collect a detail and scanner. You can now go back to the ship and at the front, you will need to use the scanner on the steering wheel you had taken off before to get a scanner with data.
You can also use the detail on the panel on the right, which will unlock a mini-game. The aim of the game is to get the result of all the numbers on the side platres using numbers and mathematical operations. You need to use all numbers.
It looks like there are different puzzles you can have, but here is how we completed ours below:
- 3 * 3 = 9
- 3 + 3 = 6
- 5 + 3 = 8
- 6 + 1 = 7
- 4 – 1 = 3
- 2 * 2 = 4
- 3 + 2 = 5
- 9 – 8 = 1
- 3 – 1 = 2
- 0 – 0 = 0
Once completed, you will be able to get a handle from the back of the helmets. There is also some numbers above the fourth helmet and yours could be a different number from ours. Ours is 58478 and you will need to remember this code.
The handle can be used on the trap on the floor of the ship. You will need to click again to open it and you can place the battery inside and there is also a cartridge you can collect from here.
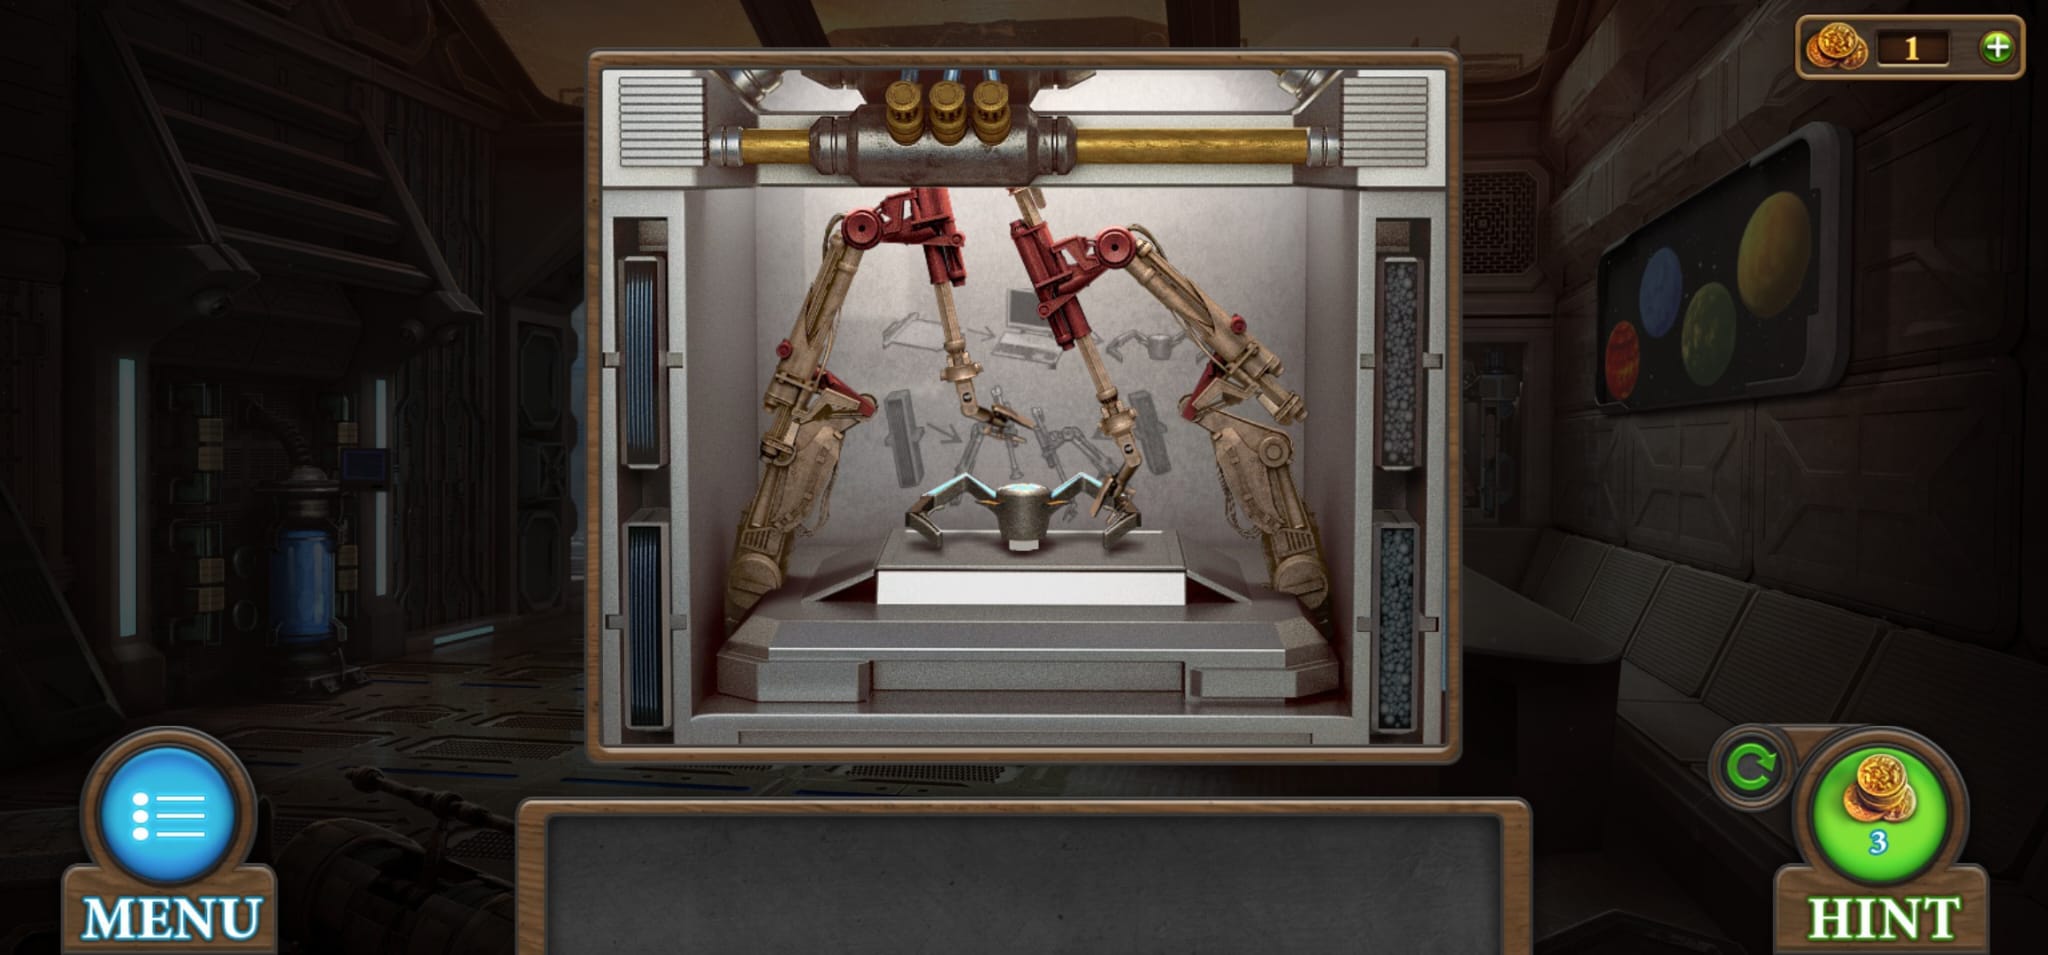
Now you will need to go back to the second room and put the scanner with the laptop. The code you need to input in the laptop is the same as the numbers you found by the helmets. It will not allow you to print yet as you need to click on the display and add the cartridge to the left and right of it and the tip to the left arm.
You can now click print on the laptop and it will make a steering wheel for you. Once it has stopped printing, you can add it to your inventory.
All you have to do now is to add the steering wheel to the front of the ship and play the last mini-game where you need to flatten out the yellow line. This will be different for everyone, but here is the positioning of all the colours for ours:

Once you have solved the puzzle, all you need to do is click on the blue orb to complete Tricky Doors Level 12!

Tricky Doors Walkthrough Level 12 Completed!
Click here if you need help on the next level.

